Table of Contents
In the fast-growing world of eCommerce, packaging has evolved into a critical component of the customer journey. It’s no longer just about protecting your products during shipment; packaging serves as the primary physical interaction between brands and customers. With increasing competition, how you package your products can greatly influence your brand perception, customer satisfaction, and even sales. Therefore, creating a memorable unboxing experience should be at the forefront of your packaging strategy.
In this guide, we will walk you through the steps of crafting the perfect packaging for your eCommerce products. From choosing the right materials to ensuring a smooth unboxing experience, these tips will help you make the best impression on your customers, ensuring they remember your brand long after they’ve received their order.
1. Step 1 – Find Inspiration for Your Packaging
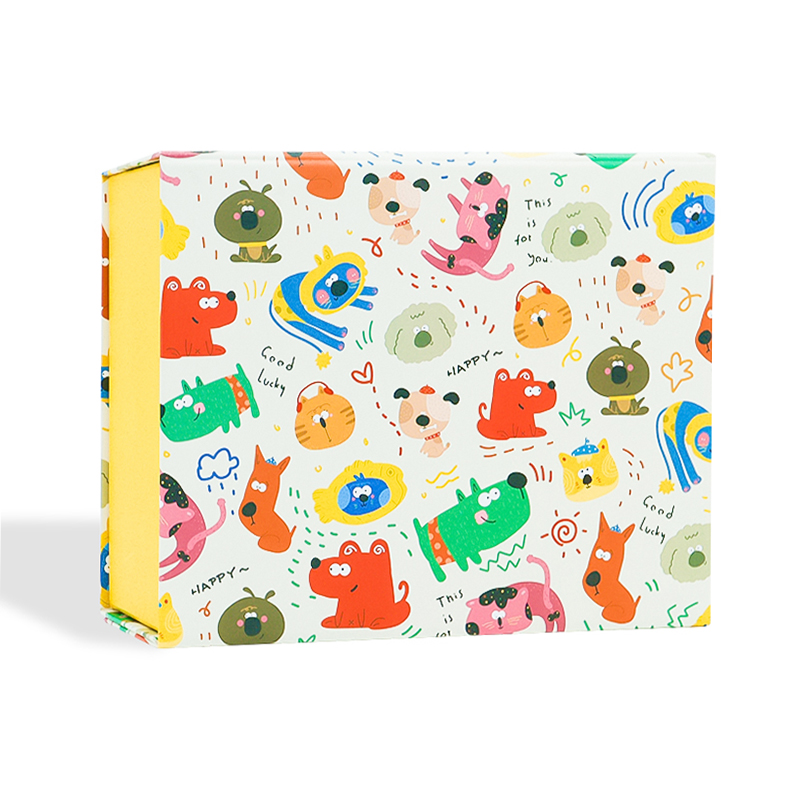
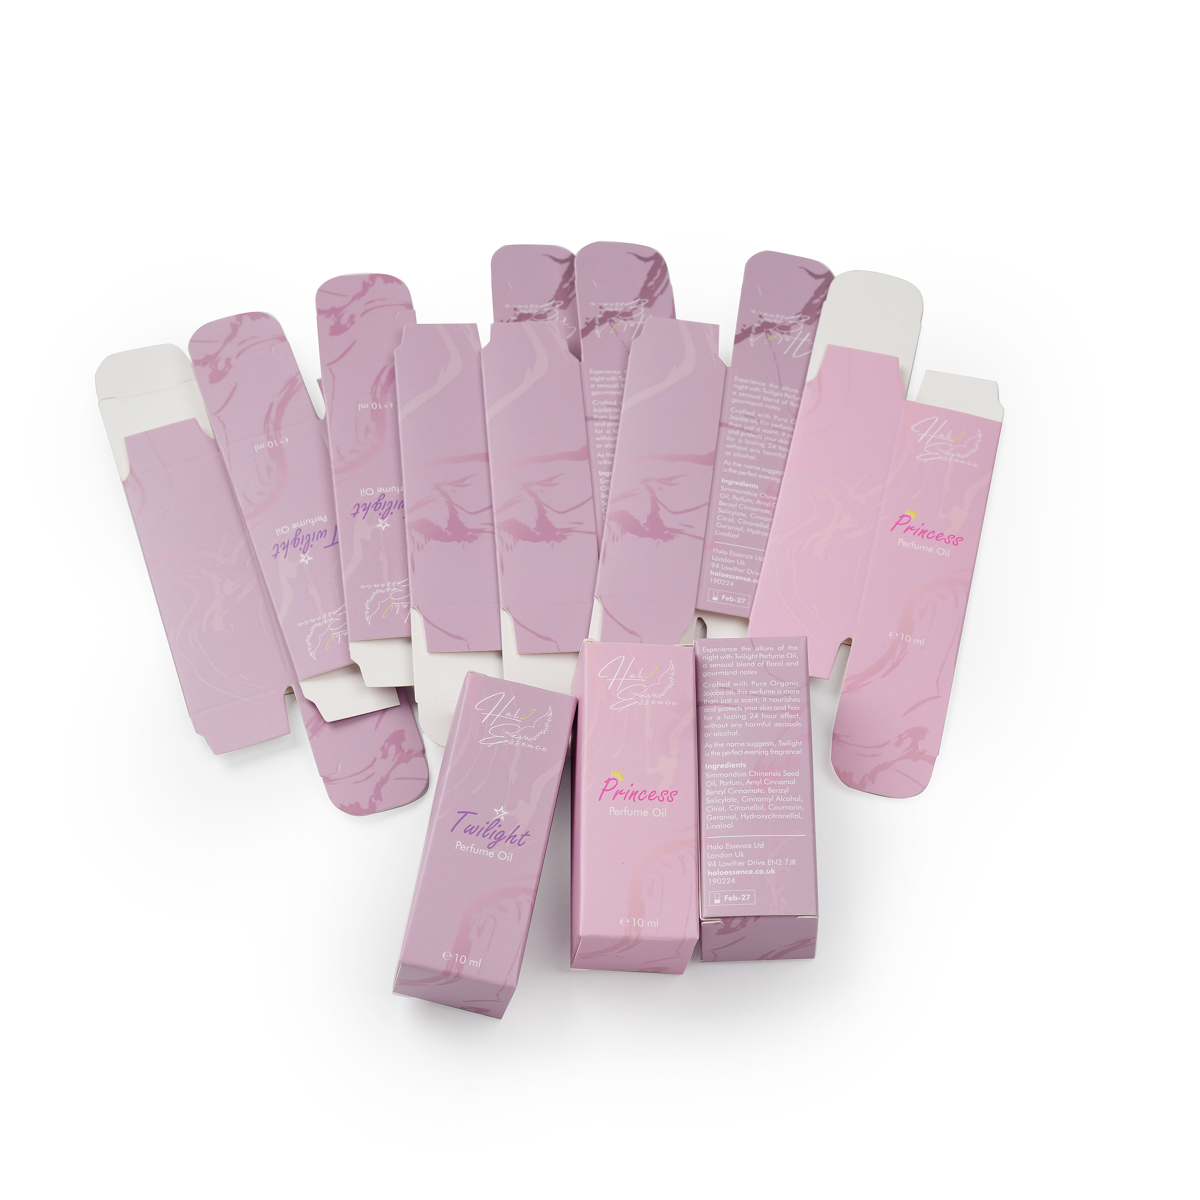
Starting with a blank canvas can be overwhelming when designing your packaging. To create something unique and memorable, it’s helpful to look at examples from brands you admire. Browse packaging designs from companies that sell similar products or industries that inspire you. This can spark ideas for your own packaging design, helping you balance creativity and functionality.
Looking at a variety of sources will also give you insight into what works and what doesn’t. Consider taking note of what you like about the designs—whether it’s the use of color, typography, or unique structural elements—and use those insights to create something that resonates with your brand’s identity.
Pro Tip: Use Google Images or Pinterest to gather visual inspiration. If you’re looking for more specific ideas tailored to your niche, check out our packaging showcase page for a collection of stunning designs that can inspire your next project.
2. Step 2 – Decide on the Right Packaging Type(s)
Once you’ve gathered inspiration, the next step is to choose the appropriate packaging types for your eCommerce products. The choice of packaging depends on the product’s size, fragility, and aesthetic appeal, as well as how you want your brand to be perceived. Here’s an overview of some of the most popular packaging types:
1 – External Packaging for Your Products
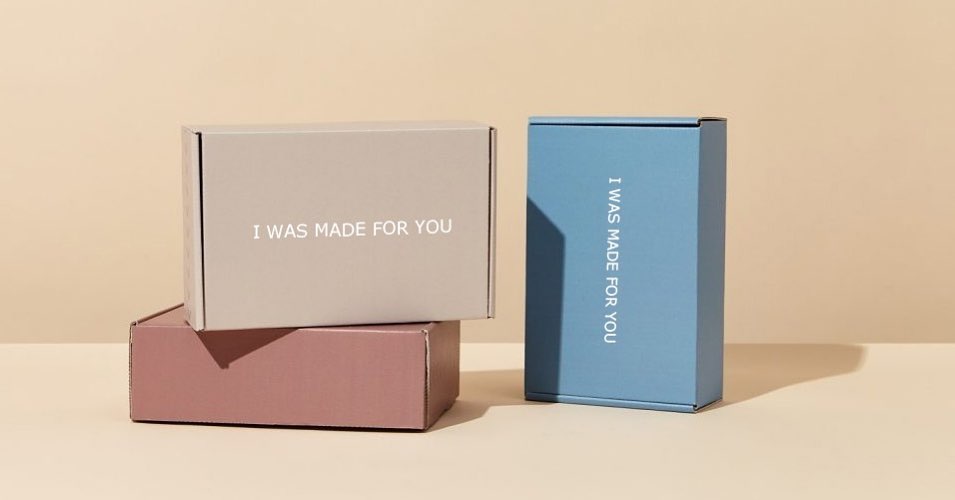
External packaging is the outer layer that protects your product during shipping and delivery. One of the most common options is corrugated mailer boxes, which are ideal for shipping and subscription-based products. If you sell beauty products, gadgets, or fashion accessories, mailer boxes provide durability and cost-effective shipping. These boxes are easy to handle, sturdy enough to prevent damage, and cost-efficient for bulk shipments.
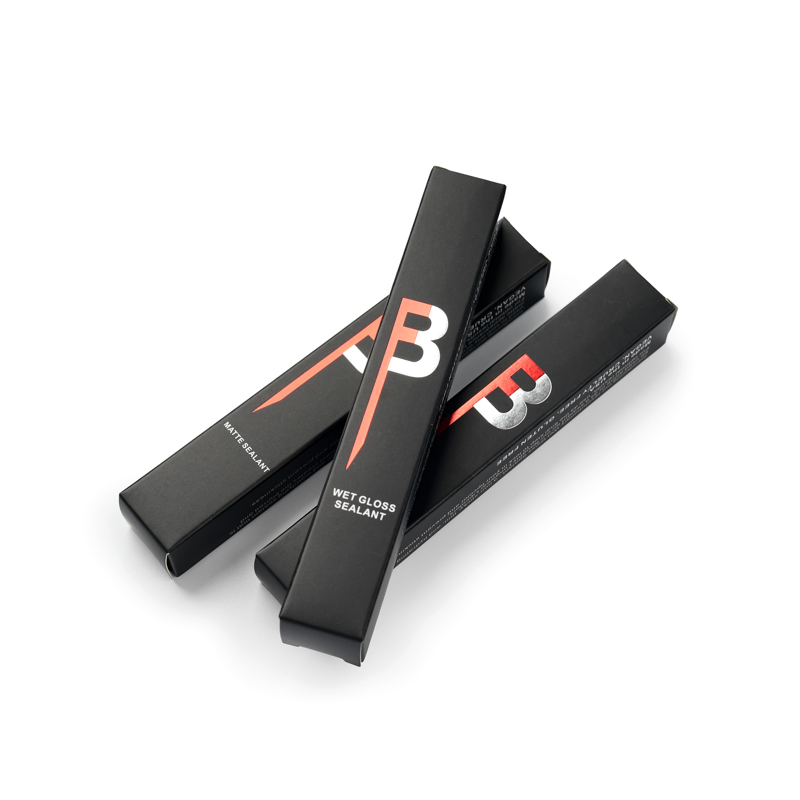
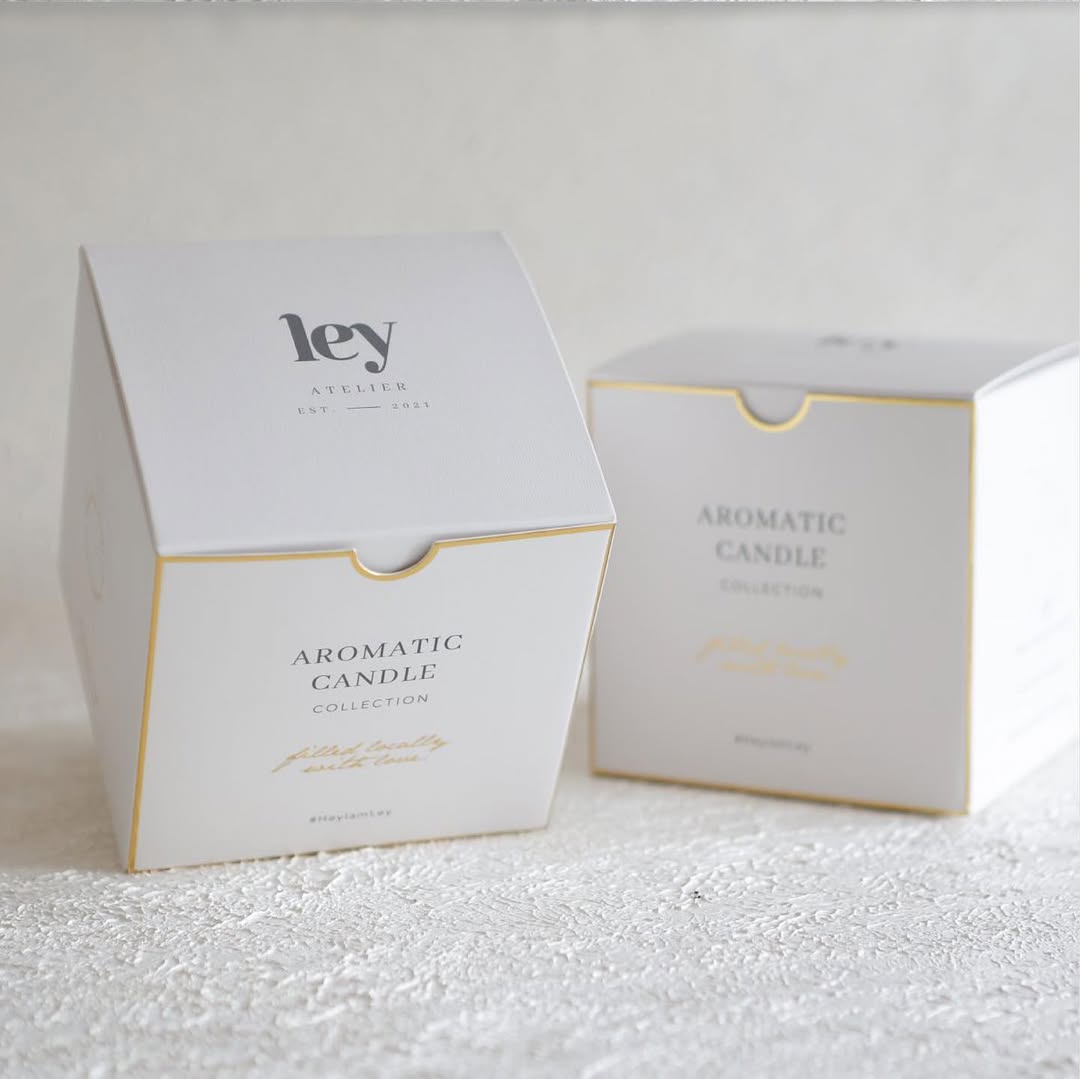
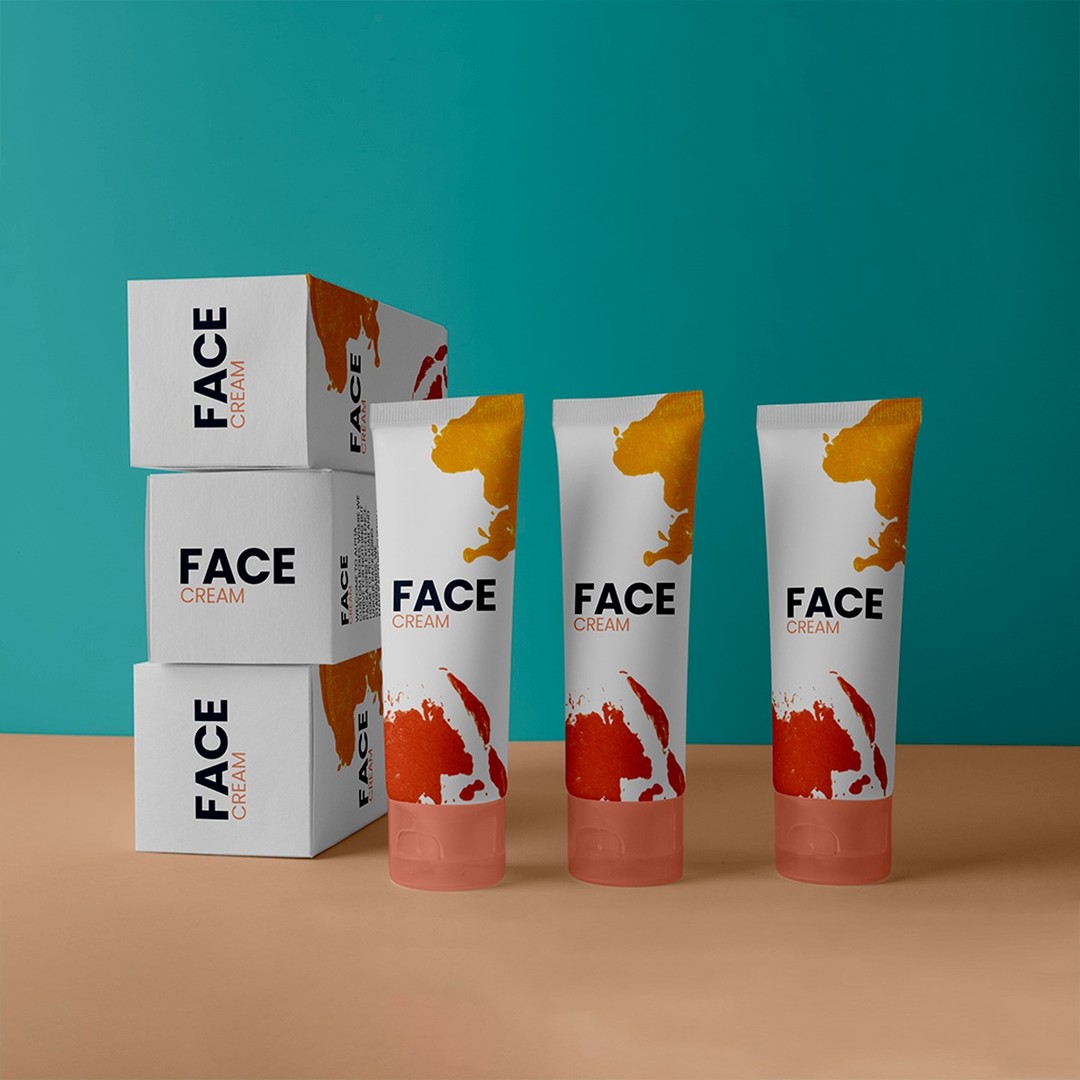
For smaller, lighter items like food products, coffee capsules, or jewelry, folding cartons are a great choice. These boxes are lightweight and can be customized with your logo and design elements to enhance the customer experience while keeping costs low.
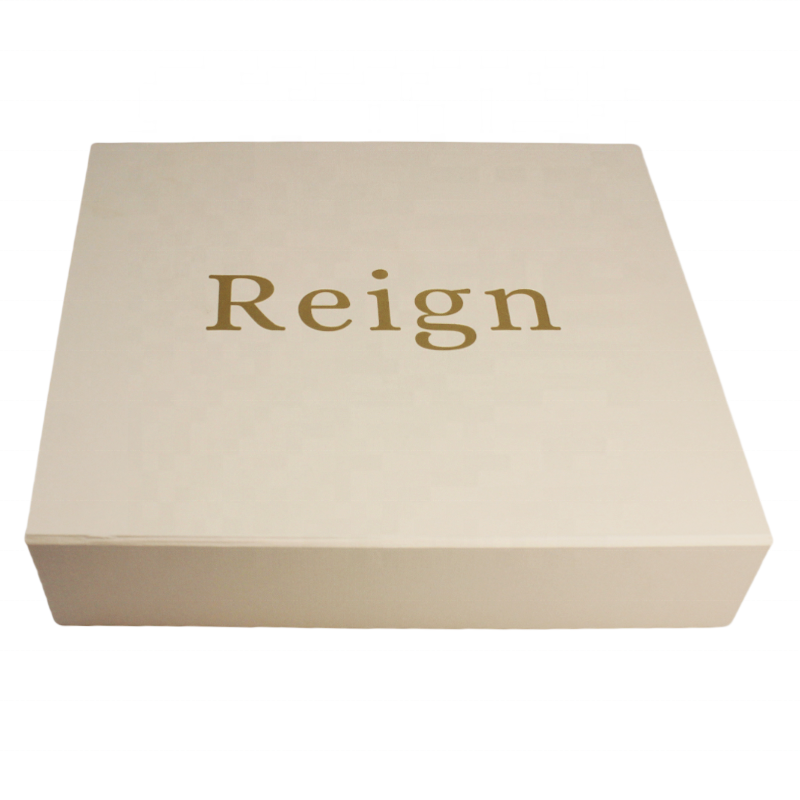
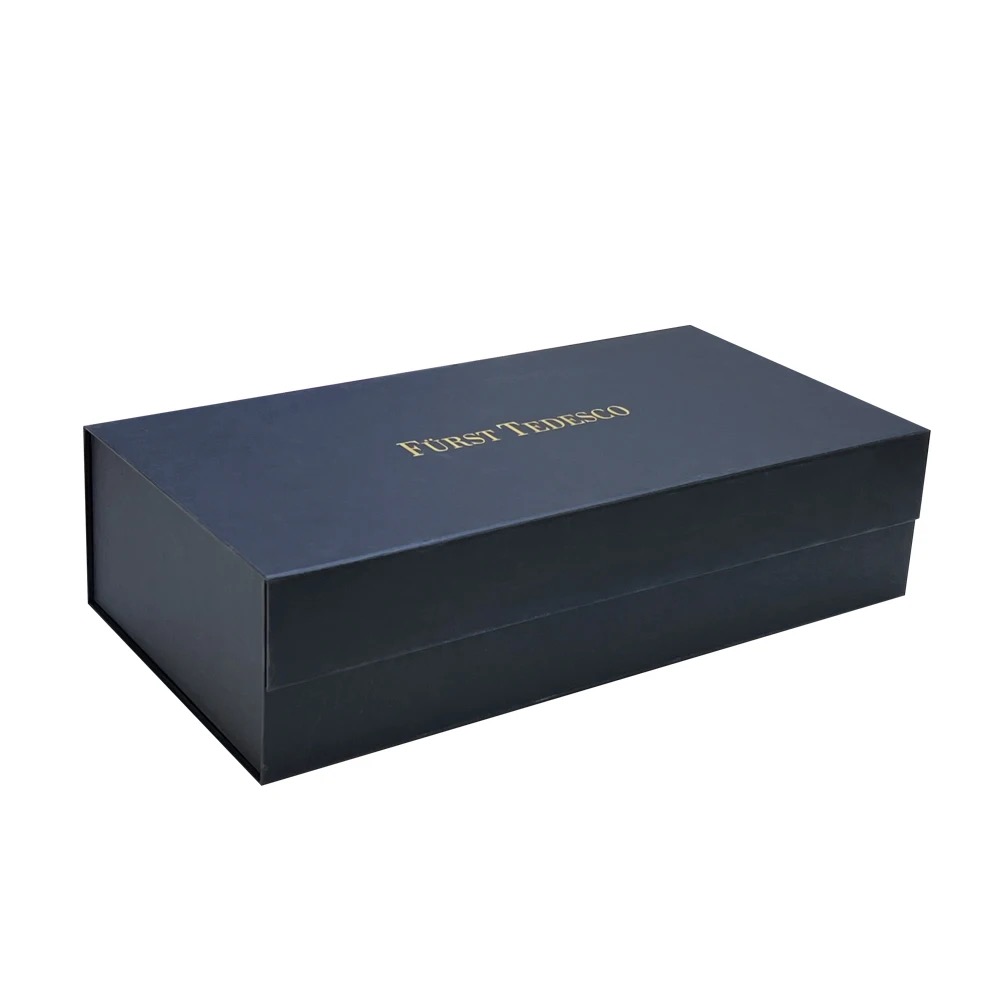
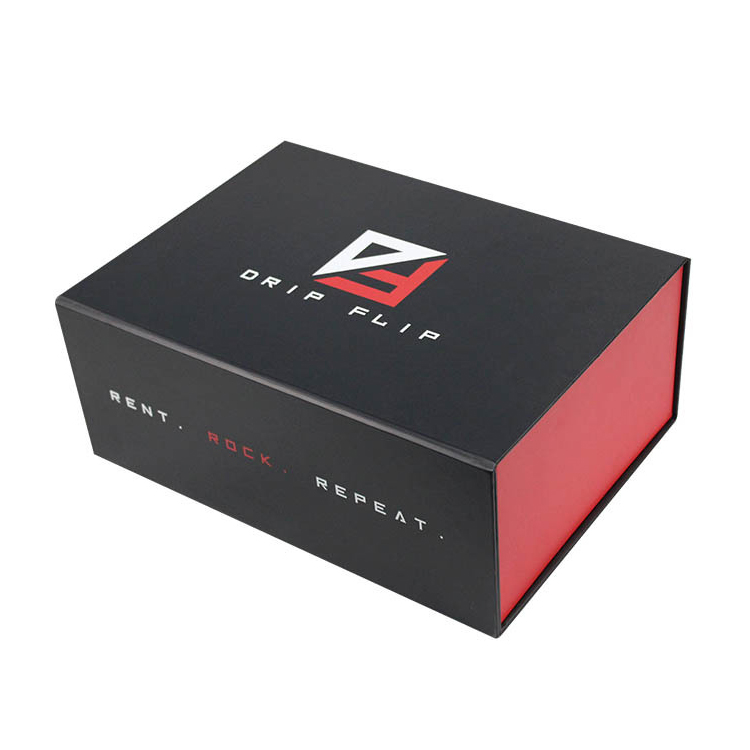
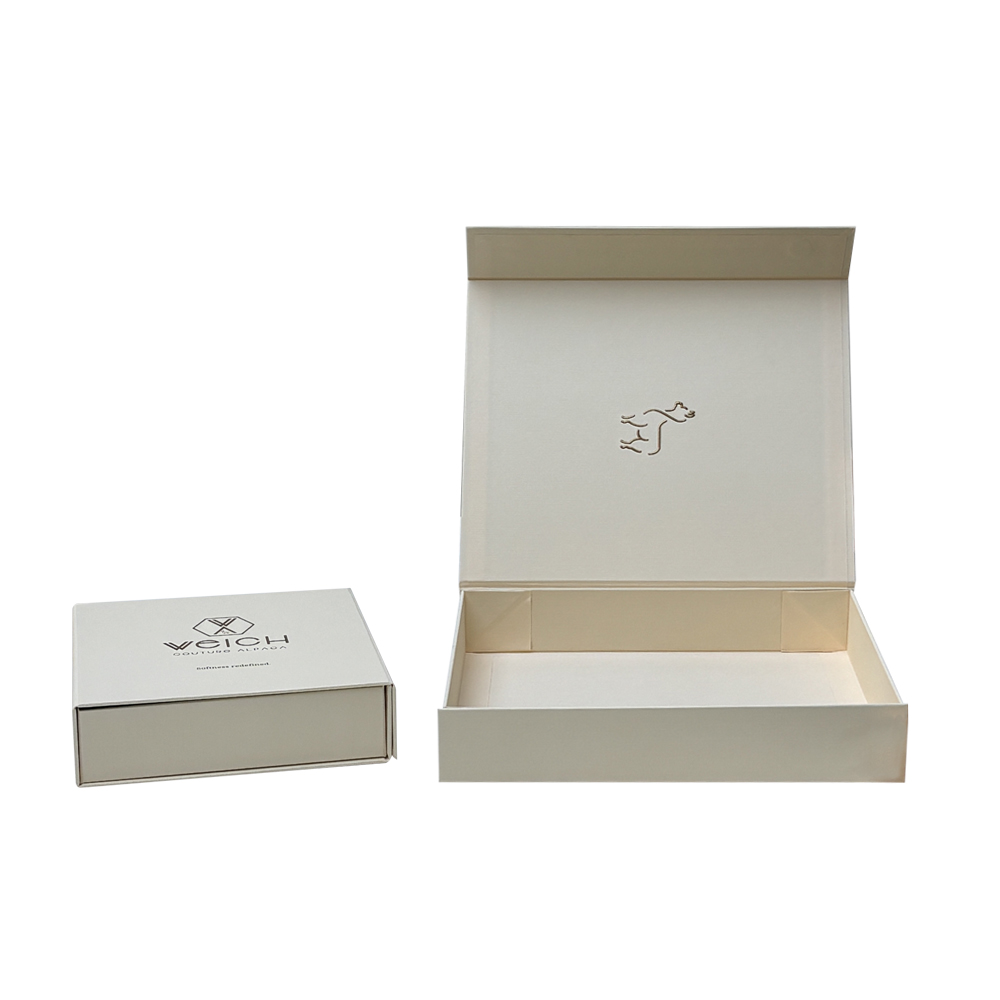
If you want a premium feel for your product, consider using rigid boxes or magnetic closure boxes. These are particularly suitable for high-end items like jewelry, watches, or luxury electronics. Although they are more expensive than other packaging options, they provide a high level of protection and create a sophisticated unboxing experience for your customers. However, rigid boxes are generally more costly to ship due to their weight and non-flat nature.
2 – Internal Packaging for Protection
Internal packaging is crucial for securing your product and preventing damage during transit. When choosing internal packaging materials, consider the type of product you’re shipping and how fragile it is. For instance, void fillers like tissue paper, crinkle paper, or biodegradable packing peanuts are great for filling empty spaces in boxes and cushioning your products. Bubble wrap and foam are also good options but tend to be less eco-friendly.
If your products come in sets or collections, custom box inserts can be used to neatly organize and display your products while preventing them from shifting during shipping. Paper-based inserts are affordable and can be printed to match your branding. Foam inserts, while more expensive, provide extra protection for fragile items such as glassware or delicate electronics.
3 – Packaging for Shipping
Now that you’ve selected your external and internal packaging, it’s time to consider how the products will be shipped to your customers. One important consideration is adding the necessary shipping labels, including your company’s address, the customer’s address, and any customs information. Here are some common options for external packaging during shipment:
- If you want to minimize additional packaging, a corrugated mailer box can serve as both your product packaging and shipping container, reducing material use and cost.
- If extra protection is needed, consider using a box-in-box method where your products are placed inside a mailer box, which is then placed inside a larger shipping box. This approach ensures that your product stays safe while also offering protection for shipping labels.
- If the products are lightweight and non-fragile, you can consider using envelopes, poly mailers, or wrapping paper for shipping. These options are suitable for flat or durable products and can reduce shipping costs significantly.
In any case, the primary goal of external shipping packaging is to ensure the safe delivery of your products. While it doesn’t need to be the most visually impressive part of your packaging, it should provide adequate protection from any potential damage during the shipping process.
3. Step 3 – Weigh, Measure, and Choose the Right Placement
The next step is to gather the specific measurements and weight of your products. This information is crucial when selecting the appropriate packaging, as it will ensure that your packaging is properly sized and strong enough to handle the weight of your products. Shipping costs are also determined by the weight and dimensions of your packages, so knowing these details will help you estimate both packaging costs and shipping fees.
Weigh your products using a scale, and measure the length, width, and height of each item. Be sure to leave a small buffer (around 0.5 inches) between your product and the packaging to allow for cushioning and avoid a too-tight fit that could damage the item.
Next, determine how you’d like your products to be arranged inside the packaging. For instance:
- Will your products be standing upright?
- Will they be laid down horizontally?
- Will the products be stacked or organized in separate compartments?
How you place your product inside the packaging impacts the unboxing experience. Take into account the product’s size and shape when deciding on its placement within the box, as this will enhance the presentation when customers open the packaging.
4. Step 4 – Design Your Packaging
Packaging design is a vital part of your brand identity, as it is the first physical impression customers have of your business. It’s important to create a design that is visually appealing, aligns with your brand’s image, and provides a seamless unboxing experience. Here are some key considerations when designing your packaging:
- First Impressions: What do you want your customers to feel when they first see your packaging? Consider opting for minimalist designs with simple logos, or a more detailed design that tells the story of your brand. You might also include essential product information, like ingredients for food items or care instructions for clothing.
- Unboxing Experience: Think about how you want the customer to feel when they open their box. Will there be a surprise element, like a thank-you note or a small gift? Consider adding branded touches inside the box, such as custom tissue paper or a personalized card, to enhance the unboxing experience.
Remember, the design of your packaging plays a significant role in building brand recognition and loyalty. Ensure that the colors, typography, and visuals align with your brand’s identity to create a cohesive experience that resonates with your audience.
5. Step 5 – Test Your Packaging
Once your packaging design is complete, it’s essential to test it before you launch it to customers. Order a sample of your packaging to assess the overall look, feel, and durability. Make sure that everything fits correctly and that your packaging can withstand the rigors of shipping without damaging the product. You can even ask for feedback from a select group of customers or colleagues to gauge their reaction to the design.
Testing is crucial to ensure that your packaging not only looks great but also functions as intended. It’s important to find the right balance between aesthetics, protection, and cost-efficiency.
6. Step 6 – Finalize Your Packaging Budget
After you’ve selected your packaging and tested it, the final step is to determine your budget. Packaging costs can vary widely depending on factors like material choice, design complexity, and order volume. Keep in mind that while investing in high-quality packaging can enhance your brand’s image, it’s important to strike a balance between quality and affordability.
By considering factors like volume discounts, bulk orders, and the cost of materials, you can create a realistic packaging budget that aligns with your business goals and customer expectations. Also, don’t forget to factor in the additional shipping costs, as heavier or larger packages may result in higher delivery fees.
Conclusion: Creating the Perfect Packaging for Your eCommerce Business
In eCommerce, the packaging you choose plays a vital role in shaping your brand’s image and providing a great customer experience. By following these steps, from gathering inspiration to designing and testing your packaging, you can create packaging that not only protects your products but also enhances the unboxing experience for your customers.
Remember, your packaging is a reflection of your brand. Whether you opt for minimalist designs or high-end packaging, it’s essential to align your choices with your brand values and your customers’ expectations. With the right packaging, you can increase customer satisfaction, build loyalty, and ensure that your brand stands out in the competitive eCommerce landscape.
FAQs About eCommerce Packaging
What are the best packaging materials for eCommerce businesses?
The best packaging materials for eCommerce businesses depend on your product type. Corrugated mailer boxes are excellent for durable, medium-weight items, while rigid boxes are ideal for fragile or luxury items. For eco-friendly options, consider using recycled paper or biodegradable plastics. Additionally, custom inserts or tissue paper can add an extra layer of protection.
How can I reduce my packaging costs?
You can reduce your packaging costs by purchasing in bulk, selecting cost-effective materials, and optimizing box sizes to avoid excess space. Additionally, consider using a box-in-box method for extra protection without additional packaging, and always evaluate whether you really need extra decorative elements for your packaging.
How can packaging impact customer satisfaction?
Packaging directly impacts customer satisfaction by creating a positive first impression. A well-designed, functional packaging experience can make your customers feel valued and enhance their overall perception of your brand. Personal touches like thank-you notes or branded tissue paper can also increase customer satisfaction and encourage repeat business.

